Yes so it could work bedder.
Nice
@sweebee what thermostats du you use? Looks like you don’t have these issues in your hardware… 
Share your GUI
Yes so it could work bedder.
Nice
@sweebee what thermostats du you use? Looks like you don’t have these issues in your hardware… 
I’m using the dummy thermostat to control a relay, so it doesn’t care how many times it gets updated.
But I have almost finished the delay for the thermostat (couldn’t resist to do it now) 
Do you just have one thermostat?
i know we could make on one website for each thermostat.
But i’m thinking to make it more adjustable.
Some thing like. Radio Button over the Thermostat, to adjust wich thermostat you will control.
And the same over the lights buttons. to adjust wich light to control…
Maybe i will get it to work. But you could fix it very faster… 
And maybe we can set the number of thermostats and lights in the config.
So that just so much radio buttons appears, we set in the config.
 Just an idea
I’m not that good in css and your stylesheet looks quite complicated. I wanted to use your thermostat on an older phone and just “stick that to the wall”.
The phone is 4" 800x480 and running Android 4.2. Somehow the colors are not correct and the sizing is not correct. The big setting button is a red square, the - / + button are a blue and brown square. The bottom row buttons are strange enough smaller than the screen. This is in 3 different browsers and a quick “webview” apk I wrote.
I describe it this extensive in the hope you recognize it and are able to do a (quick?) correction.
Edit: it looks great on my S5 mini and on default laptopbrowsers.
@Harry-van-der-Wolf i think you have already tested using some different browsers?
Maybe Firefox for android fixs your problem…
@chris: I tested with lightning, chrome, android browser and a quickly written apk using the default webview. These didn’t function.
And indeed: firefox does work. Weird, but I’m happy. thanks.
Edit: Almost. Firefox doesn’t show the title above the big set button. Neither did the others so it is still a big improvement and acceptable (but the quest continues).
Hey guys, do you agree splitting this discussion apart from the share your gui threat for having a separate threat where you can discuss and improve as much as you want to 
If ok I will take care of it
pimatic v0.9 has been released!
Support Pimatic and get some free stickers
Like us on Facebook
make it so !
@leader21 thats ok. I’m just about to update the ‘app’ with the delay function.
I’ve created a new topic: https://forum.pimatic.org/topic/1402/pimatic-thermostat-thermostat-web-app
Due to the ideas in this forum (especially from Tim wich was the main point for my work ) and the great work from kitsaunen i spent the last days to build up the GUI for my pimatic installation.
The Spotify block reads its data from the spottily-connect-web server on my raspberry.
The color wheel in the bottom is for my DIODER at the moment it is not working because i’m waiting for my ESP8266 for the DIODER and i still have some work to implement it into pimatic.
The iPad is placed in an IKEA Ribba an has a little screensaver to be as dark as possible without locking the screen


@Christopher-täufert That looks awesome!
Can you tell me how to configure and use spotify-connect-web (maybe in the howto-section)? I’ve been looking for that functionality for quite some time now.
actually spotify connect web was one of the easiest parts.
i’m using this https://github.com/Fornoth/spotify-connect-web it brings its own webIF and i just copied the main.js and some html into my Piratic GUI and it worked
Hey Guys.
first i would say thankyou to the whole @pimatic-team to create and support these awesome easy-to-use and powerful software. I`m very thrilled by the support in this forum. thanks @sweetpi that i have found a new hobby… ^^
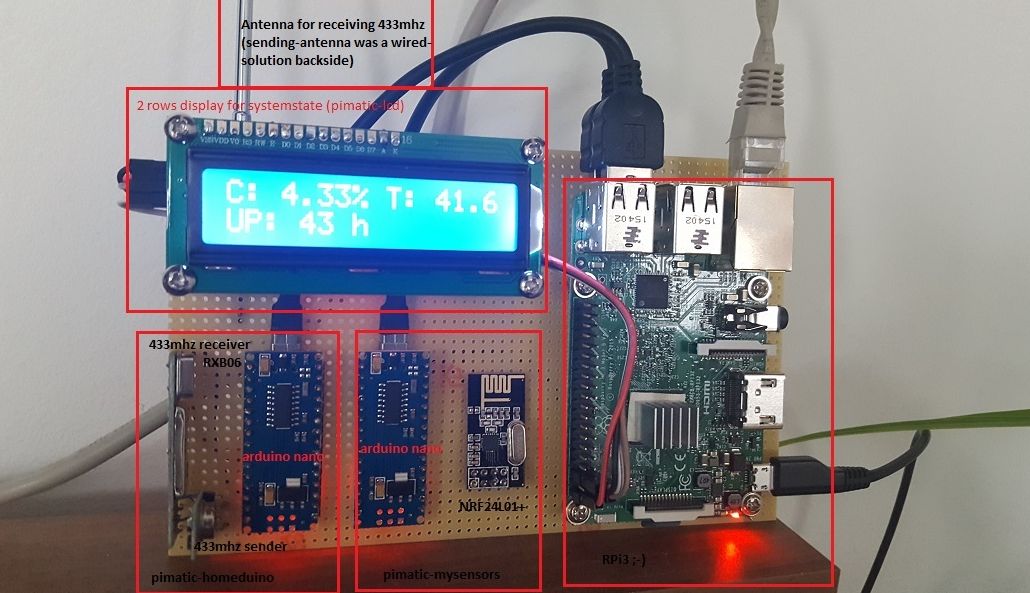
by this way i would share some pics of my in-the-wall-mounted tablet…
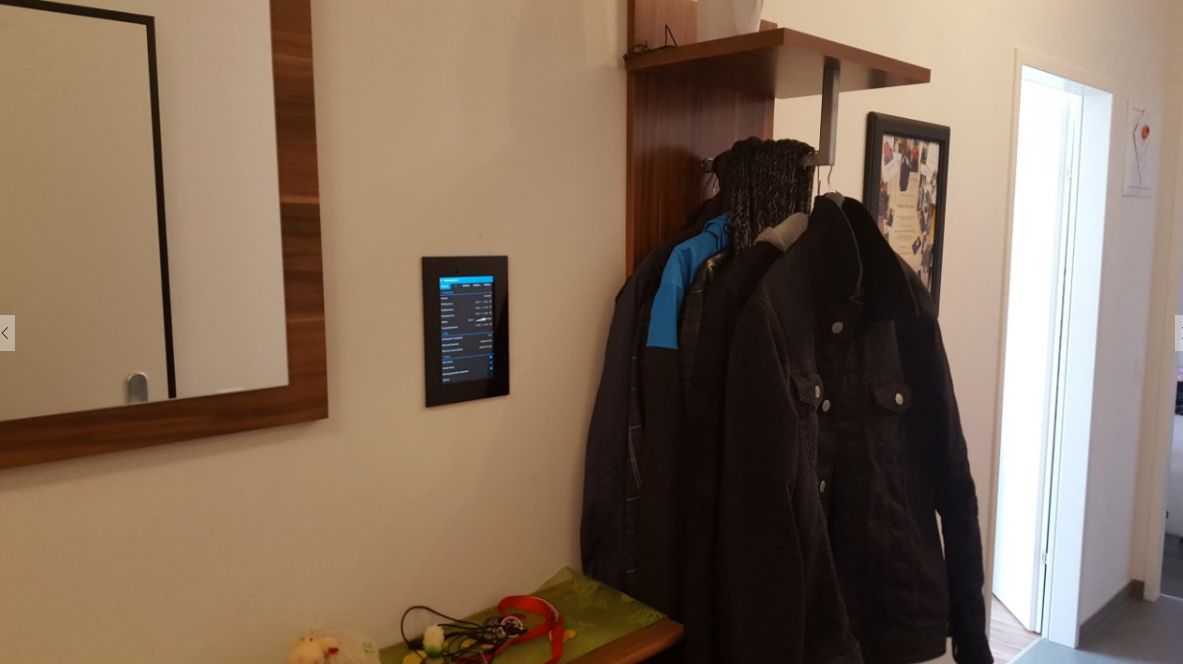
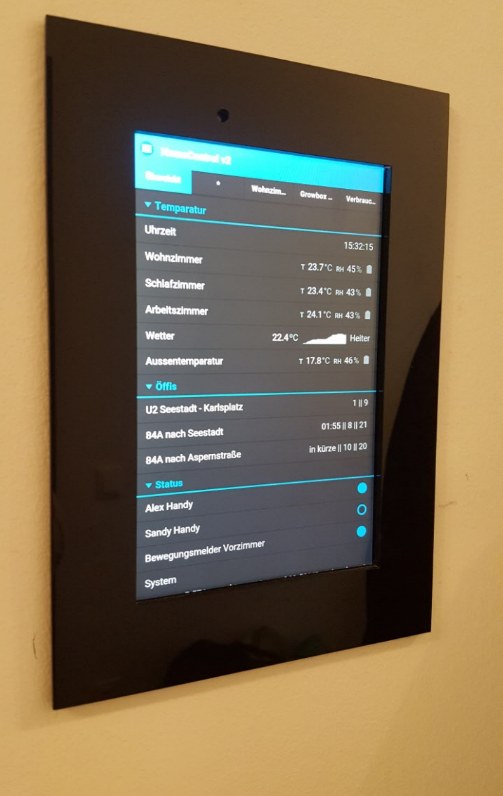
I ordered a “A5-Acrylglas-Plexiglasplatte” via amazon and asking the seller if they could cut out the middle of the Plate.
After drilling a little hole for the camera and gluing with some UHU-Repairingglue, my rooted 7" LG Tablet looks well for a flat mounting in the rigips-wall holded by 4 Neodym-Magnets in the edges of the plexiglasplate. For Kioskmode with Chrome (best performance with this browser for me) i’m using "HideSystemBar"
and for getting on on movement “Motion Detector” from Playstore
after the well-looking tablet-mount i couldnt get display data from such a hardware like that…
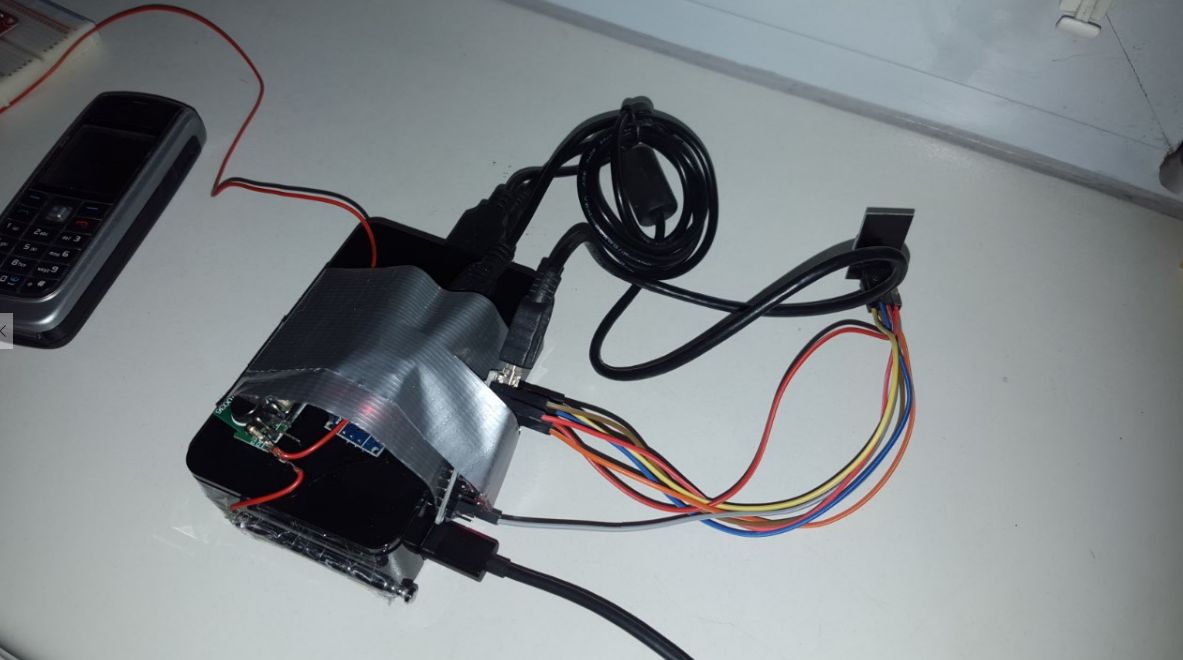
my workmates asks me if i build bombs or similar things for syria and did’nt belive me thats only a homecontrol-device…
…so i’ve mounting all to a pcb…
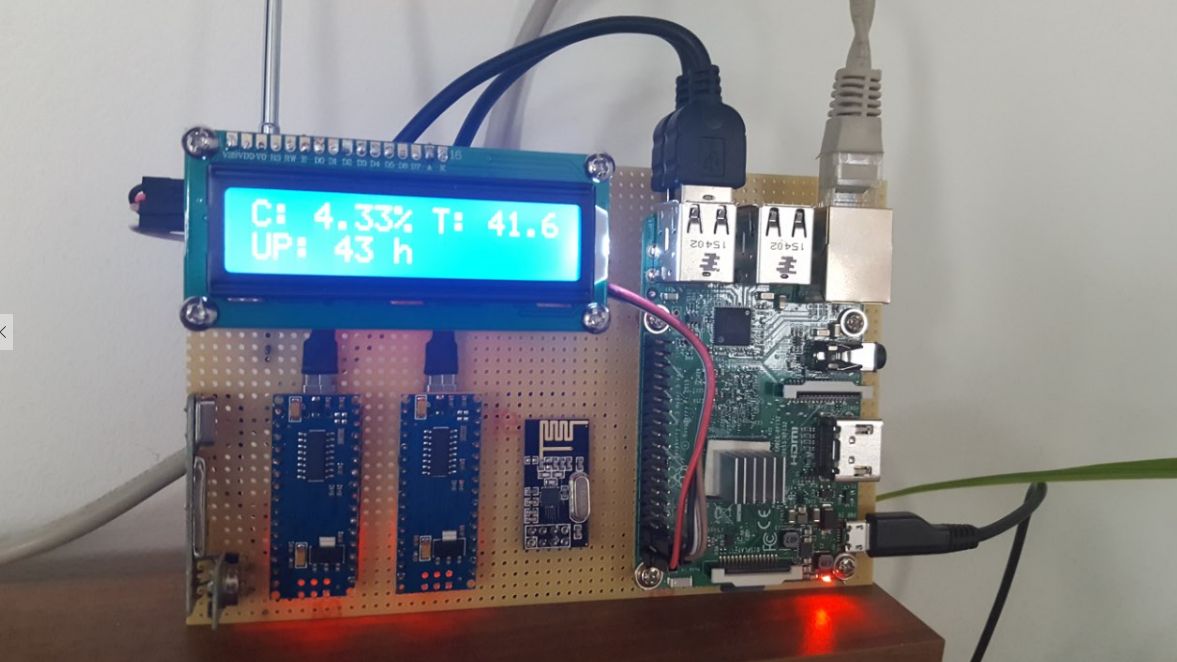
thanks for “listening” and sorry for my bad english. i know its really not the yellow from the egg… 
Nice Mount. Are Young happy with The motion detector solution?
I have tried several settings but I have to choose if the tablet recognizes me in a dark setting in the evening or if the light changes from the triggers the motion detector. Both is somekind of annoying.
What is the purpose of the second arching on your PCB?
yes, the display goes on by turning the light on or off. i know that a pir-based solution was better, but i couldn’t find a solution how to get a pir-movement-signal to the display-turning-on-command…
the LG-Tab has a “KnockOn” function… if the camera would annoying me, i went to KnockOn…
@Christopher-täufert said:
What is the purpose of the second arching on your PCB?
My purpose was only for a better handling and “for the eye” 
the first version fixed with powertape works the same as the second, but very often on un-tapeing to getting to the GPIOs or sd-card a cable brokes, i lost my antenna or something else. on the backside i fixed the cables from the RF’s and nano’s with hot-glue.
Based on the idea of @kitsunen You provided the inspiration for “my” GUI. Still impressed what’s possible with the pimatic API.

For radio volume I’ve used jQuery-Knob. Anything else is mostly based on bootstrap and socket.io.js.
Guess this GUI has a much better WAF than the “standard GUI” from pimatic 
Cheers,
DerIng
@DerIng
I like your design. Would you share it with us?
pimatic-google-calendar | pimatic-wmi | pimatic-snmp | pimatic-wakeonlan |
Like my work? Then consider a donation
Follow me: www.thorstenreichelt.de
@thost96
You are welcome.
Please find the source code of the frontend client here.
First thing you have to configure is the accessUrl to your pimatic machine (inside js\pimatic_access.js)
Keep in mind that a lot of devices/rules/scripts are needed on the pimatic server side.
These are not distributed here (due to the fact that these are just a lot!) - but no problem for me to answer questions.
Only a few links to get an idea of what’s behind (not complete yet):
Pimatic rocks!
Cheers,
DerIng
@DerIng That GUI looks great! Which audio player do you use? Volumio? I always enjoy listening OE3, as it mostly means I’m on holiday in Austria/Süd Tirol 
I see you are using a CO2 sensor, which one are you using?
@Rene Arts
Thanks!
Just installed MPD on my Raspberry.
I know there is already an mpd plugin available but I’m still using a pimatic rule based approach like:
if radioOe3 pressed then switch turn-radio on and execute "/usr/bin/mpc clear; /usr/bin/mpc load radiosender; /usr/bin/mpc play 19" and set $RadioPlayIndex to 19
(I have a pimatic ButtonsDevice with a button for every station and an mpd playlist with the links to the
radio streams.)
The CO2 sensor I am using is already part of the Netatmo Weather Station.