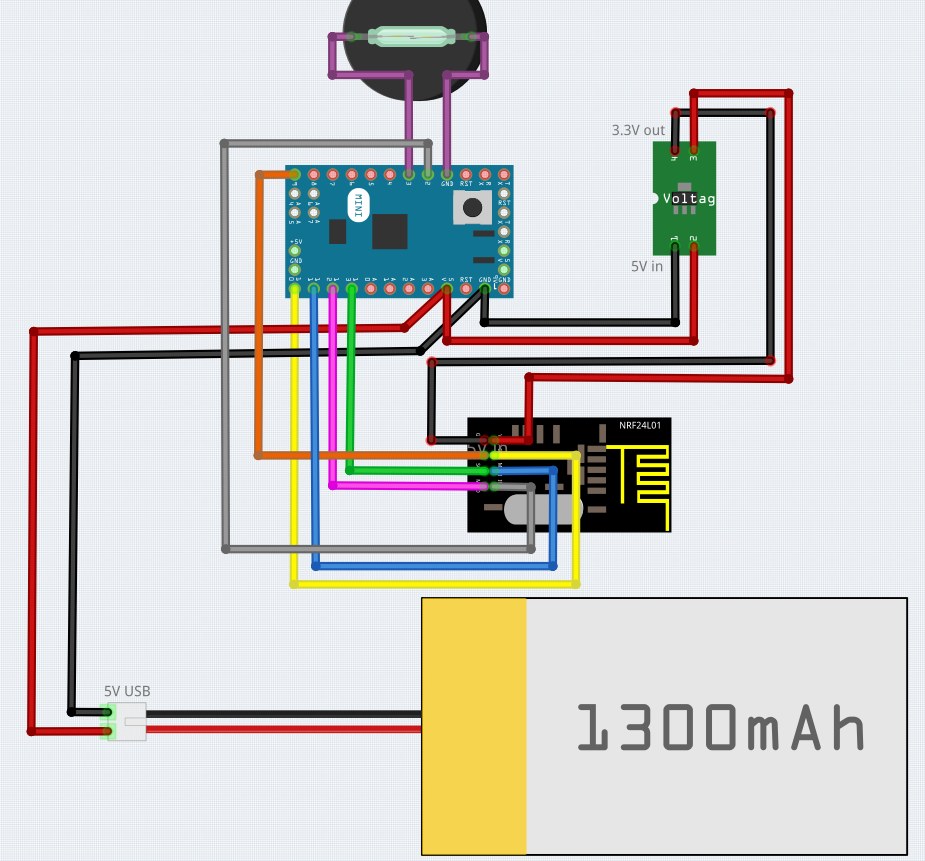
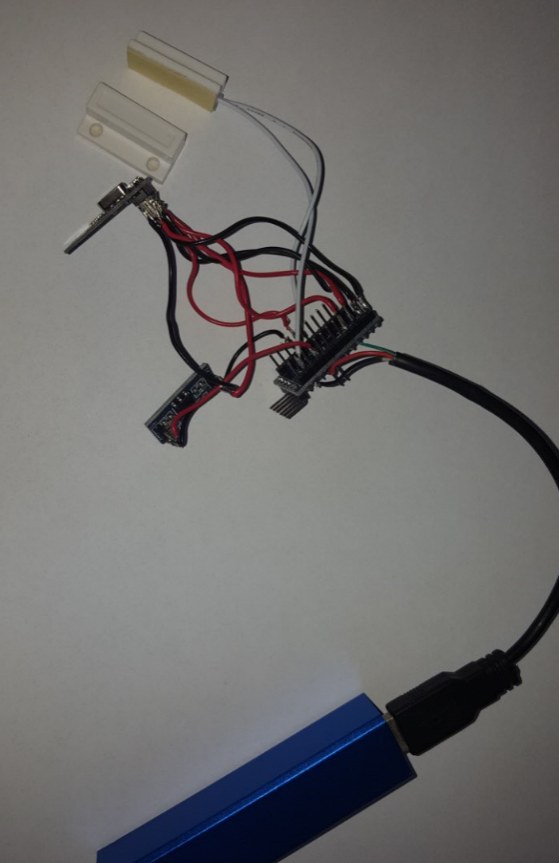
MySensors-devices was fast, compact “simply” to build with an Arduino, NRF24l01+, a few wires, a soldering iron and an actor or sensor.
There are a lot of basics on http://www.mysensors.org/build/ and how to use in pimatic @https://www.npmjs.com/package/pimatic-mysensors but feel free to share your ideas, optimized sketches, project pictures, batterypowered arduinos and so on… relating to pimatic and mySensors in ths thread.
please hold the thread compact and clear to inspire other “builders” and share your ideas only.
lets begin.
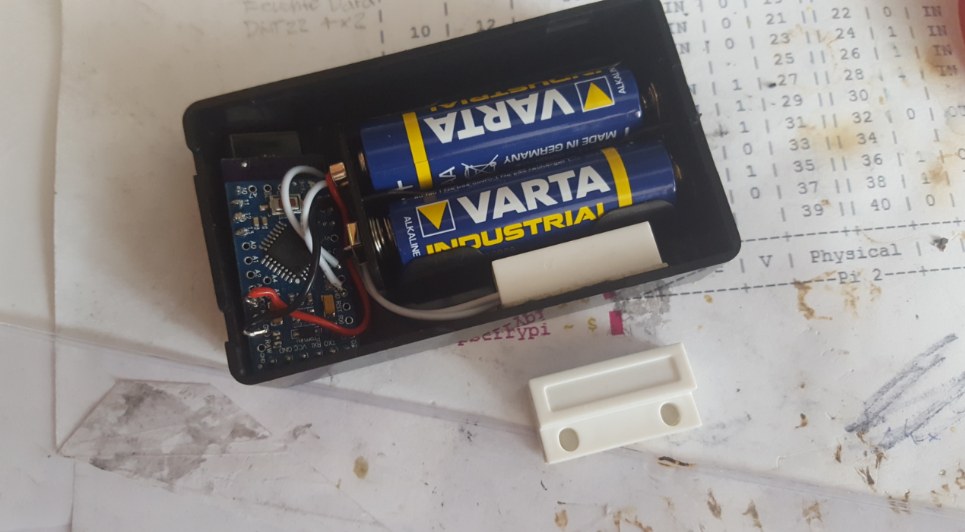
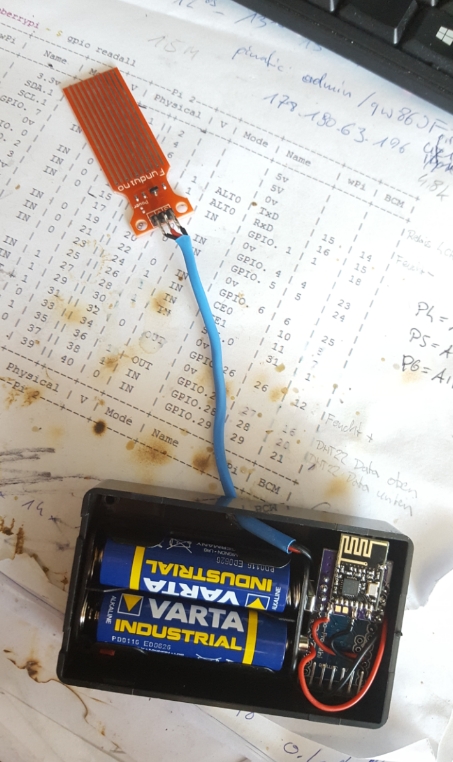
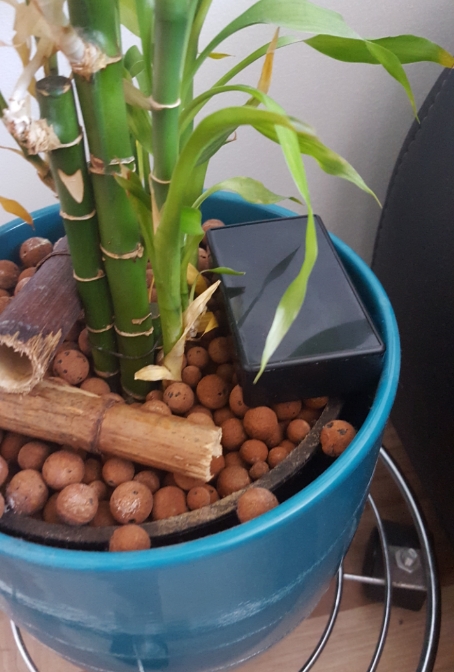
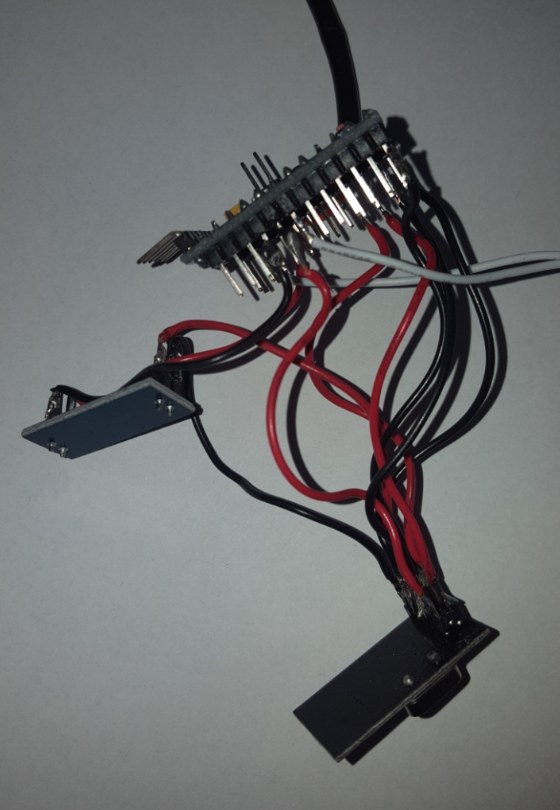
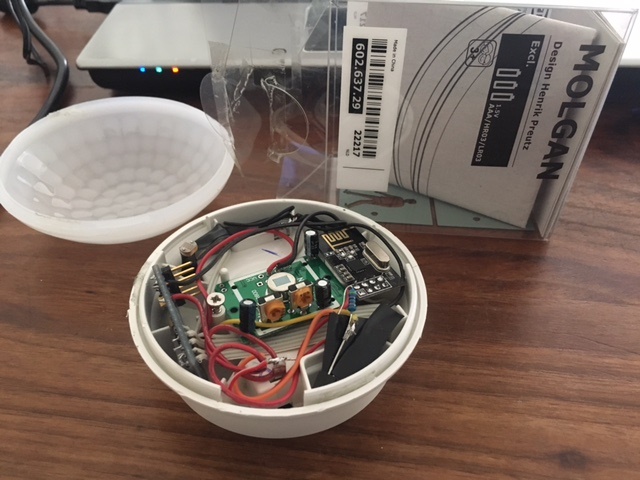
I have create a batterypowered door-contact sensor for my balcondoor to turn my heating device beside off for saving energy and extend my alarm-rule.
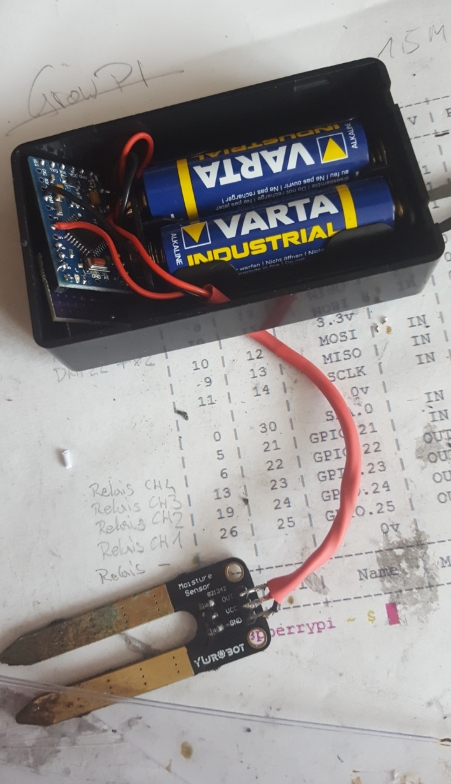
Parts-List
-
Mobile Batterypack (for mobiledevices like this)
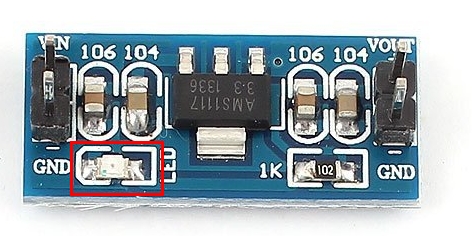
- 3.3V StepDown Converter for Powering NRF
after soldering all together i remove the powerled on the voltage regulator-pcb…
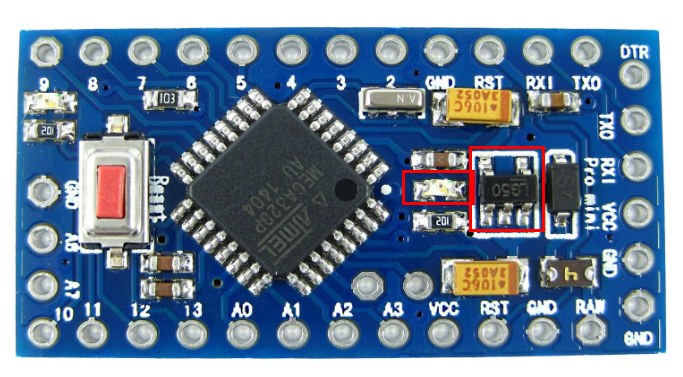
…and remove the powerled and voltage regulator on the arduino-board with a sharp knife to save energy.
I thank @sweebee for his universal Arduino-sketch. it could be used every time you’ll ned a 0/1-state (pir, contact, soil, switch, and so on…) in pimatic, the arduino goes to sleep while standby and transmit the battery-level if changes.
#define MY_RADIO_NRF24
#include <MySensors.h>
#include <SPI.h>
#include <readVcc.h>

// ********** CONFIG **********************************


    #define MY_NODE_ID 2         // ID of node
    #define CHILD_ID 1            // ID of sensor
    #define PIR_PIN 3             // Pin connected to the PIR

    #define MIN_V 4700            // empty voltage (0%)
    #define MAX_V 5100            // full voltage (100%)

    #define MY_DEBUG              // Debug

// ****************************************************

MyMessage msg(CHILD_ID, V_TRIPPED);
int oldBatteryPcnt = -1;
int forceSend = 0;

void setup()
{
  sendSketchInfo("Contact Sensor", "2.0");
  present(CHILD_ID, S_MOTION);
  pinMode(PIR_PIN, INPUT);
}


void loop()
{

  // Get PIR status and send to the gateway
  resend(msg.set(digitalRead(PIR_PIN)),6);

  // Send batterylevel
  sendBattery();

  // Sleep until something happens with the PIR
  sleep(PIR_PIN-2, CHANGE);
}

// FUNCTIONS

void sendBattery() // Send battery percentage to GW
{
  forceSend++;
  int batteryPcnt = min(map(readVcc(), MIN_V, MAX_V, 0, 100), 100); // Get VCC and convert to percentage
  if (batteryPcnt != oldBatteryPcnt || forceSend >= 20) { // If battery percentage has changed
    sendBatteryLevel(batteryPcnt); // Send battery percentage to gateway
    oldBatteryPcnt = batteryPcnt;
    forceSend = 0;
  }
}

void resend(MyMessage &msg, int repeats) // Resend messages if not received by GW
{
  int repeat = 1;
  int repeatDelay = 0;

  while ((!send(msg)) and (repeat < repeats)) {
      repeatDelay += 100;
      repeat++;
      delay(repeatDelay);
    }
}
edit: mySensors 2.0 compatible
readVcc you get in sweebee’s github
after uploading the sketch and moving the magnet to the reed-contact, the mysensors-debug shows me output like this…
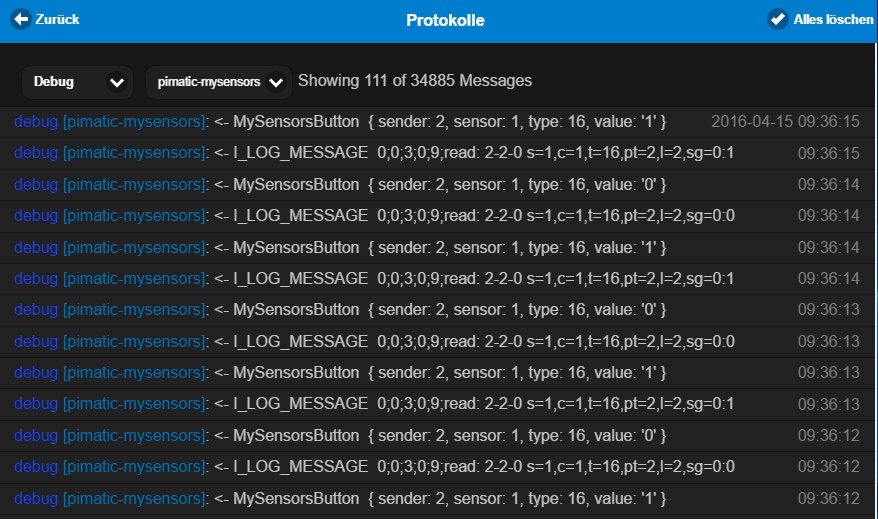
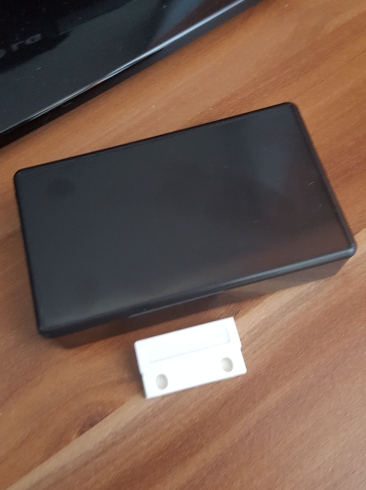
…and with a device like that…
    {
      "id": "MySensors_Contact",
      "name": "MySensors Contact",
      "class": "MySensorsButton",
      "nodeid": 2,
      "sensorid": 1,
      "batterySensor": true
    },
this was the result

i know the 8mhz arduino pro micro (running on 1mhz) and 3,3V was better for building batterpowered nodes, but its a long way from shenzhen to austria… so i`m still waiting and i use the parts for my first mysensors-device lying around here in my tinkerbox… ")
measurements about power-consume and batteryruntime-experience of the device coming soon…


")