
Since a few weeks iCloud presence detection has stopped working, so I went looking for an alternative. I considered many different options but at the moment there isn’t a ‘perfect’ solution for iPhone users.
I’m using this setup for a few days now and it works pretty well!
At first: security
(you can skip this if you don’t care about security, but I highly recommend you do this)
Create a new user at ‘users’ in your Pimatic config
{
  "username": "ifttt",
  "password": "xxxxxxxxxx",
  "role": "ifttt"
}
under ‘roles’ in your Pimatic config create a new role:
{
  "name": "ifttt",
  "permissions": {
    "pages": "none",
    "rules": "none",
    "variables": "none",
    "messages": "none",
    "events": "none",
    "devices": "read",
    "groups": "none",
    "plugins": "none",
    "updates": "none",
    "config": "none",
    "controlDevices": true,
    "restart": false
  }
}
The ‘ifttt’ user role can only read and control devices, nothing else.
Dummy presence device
You will need to control a device via the Pimatic API therefore you need a device.
Add the following under “devices” in the config:
{
  "id": "iphone",
  "name": "iPhone",
  "class": "DummyPresenceSensor",
  "autoReset": false
}
IFTTT configuration
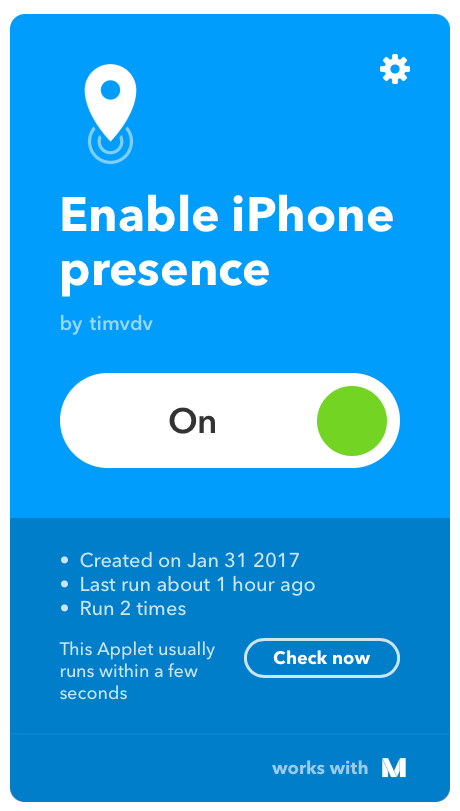
We need to create two applets which are going to send a web request to Pimatic.
When you enter a specific area (specify your location) then select maker channel and enter the following settings:
- url
https://{ifttt}:{xxxxxx}@{pimatic-public-adres}/api/device/{presence-device-id}/changePresenceTo?presence=true - method
get - Content Type
application/json
-body
(I left this empty)
Create the same applet again, leave everything the same but change the URL to:
https://{ifttt}:{xxxxxx}@{pimatic-public-adres}/api/device/{presence-device-id}/changePresenceTo?presence=false
Thats it! You’re done  .
.