From Okadesde
[Update] 10.06.2015:
- Added Server Arguments. It is now possible to change the variables via the WebUI (pimatic server IP, device name, etc)
- (Basic AP Mode coded but currently not working because of EEPROM.h bug and wifi.mode switch error. )
- still hard coded variables -> WiFi SSID, WiFi Password, and mDNS Name
[Update] 03.06.2015:
As the memory limitations of the lua script got out of hand I moved the whole project to C Code via esp8266Arduino. It’s basically the same but with some improvements:
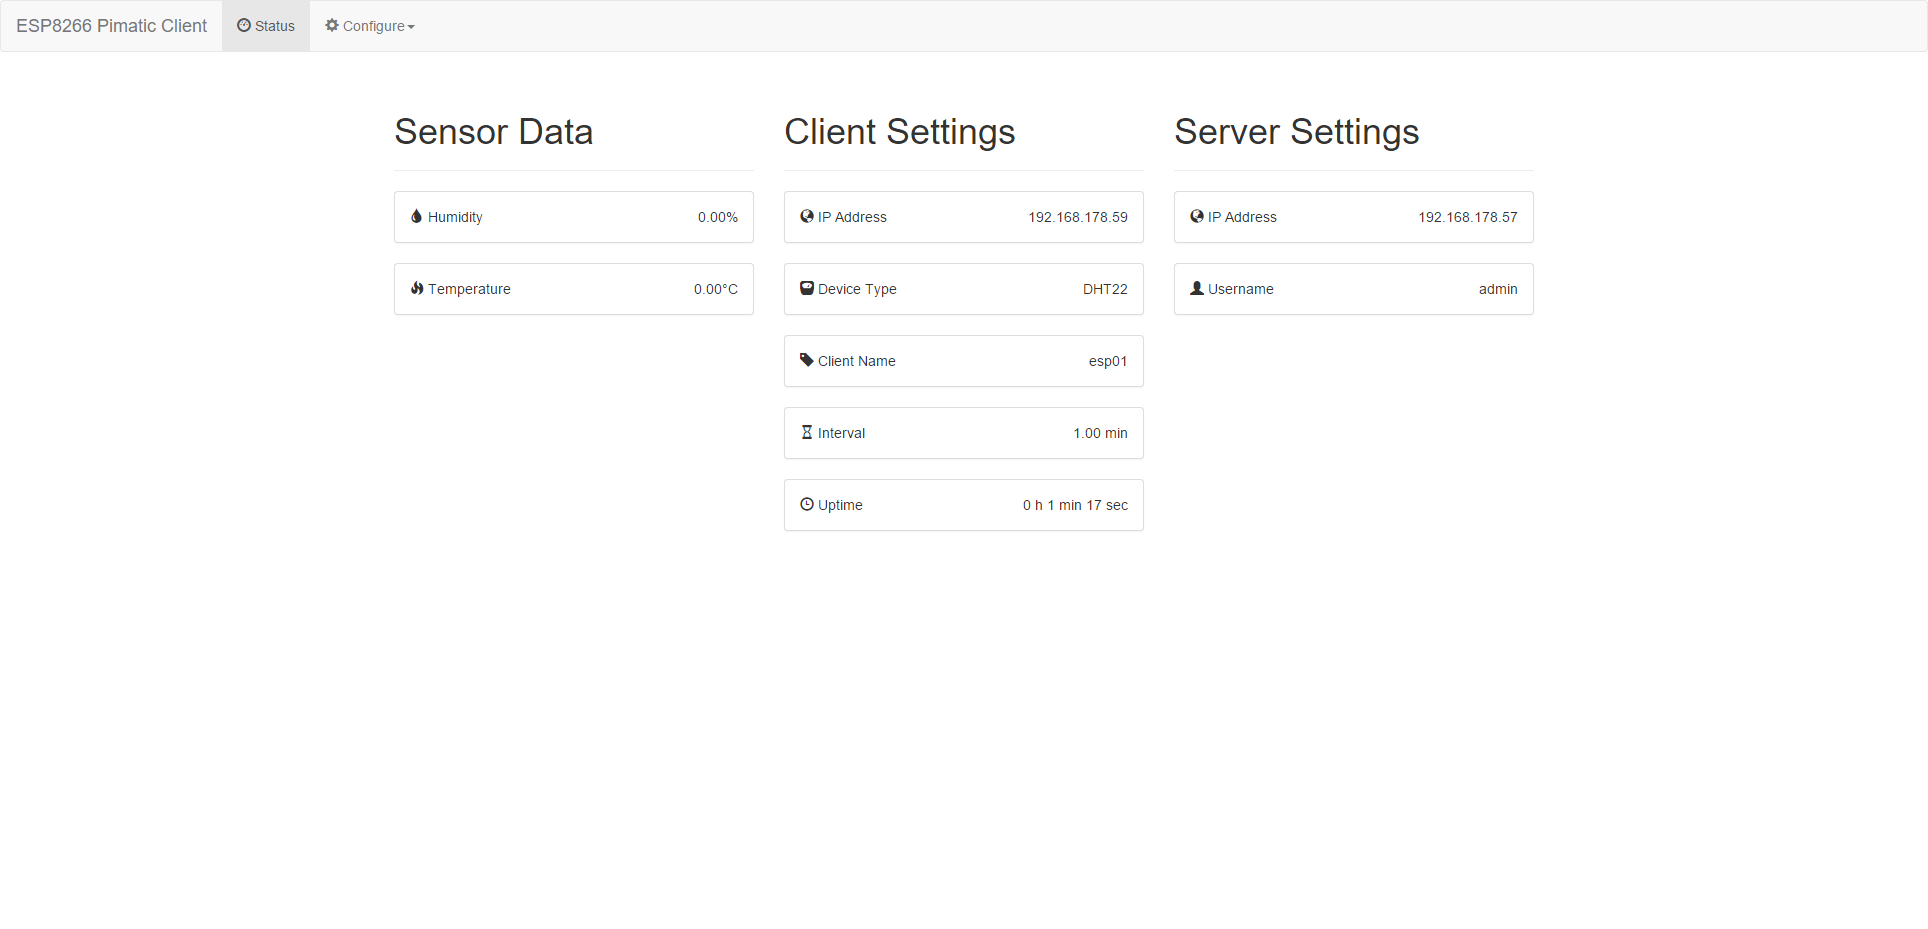
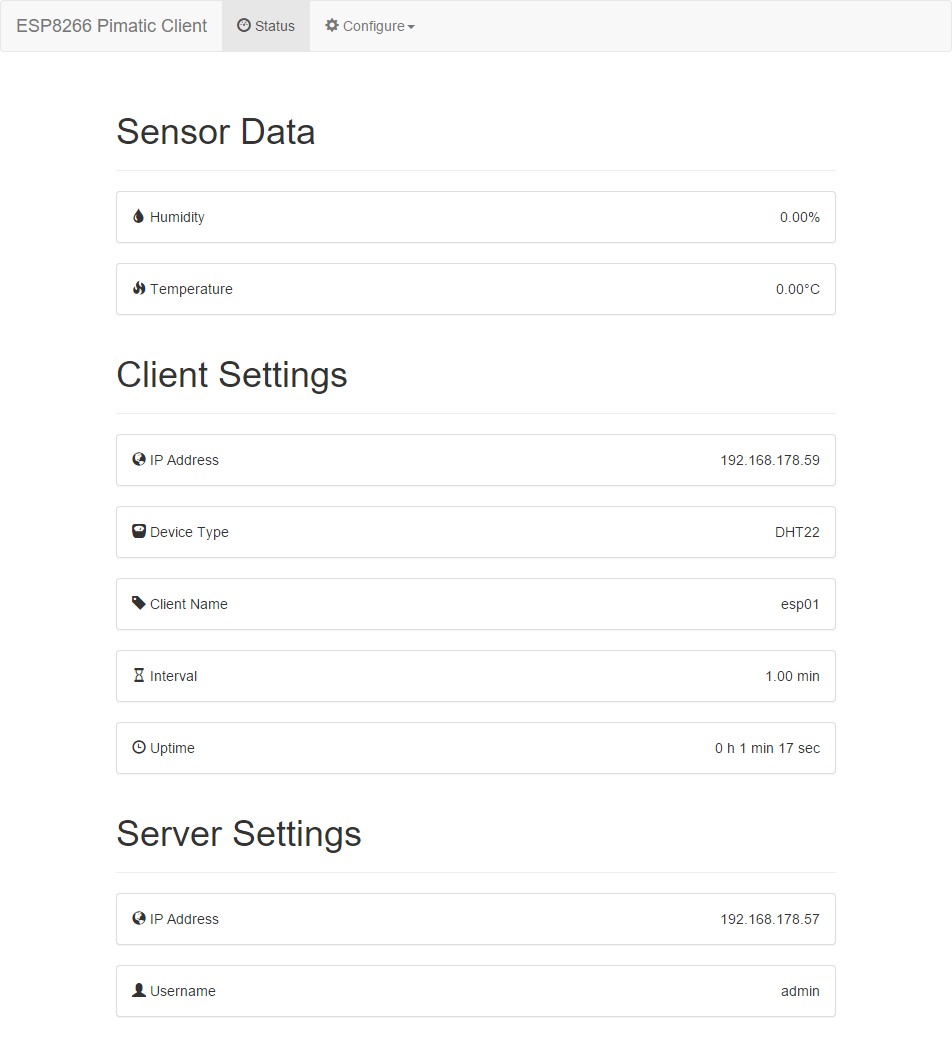
- adaptive WebUI based on Bootstrap (scales to Windows size)
- mDNS Support: Device will be found as http://<device-name>.local in your network. No need to remember the IP Address anymore. E.g. http://kitchen.local or http://bedroom.local
- Uptime Timer
- Current Temperature and Humidity avaible on WebUI
Code avaible at esp8266-pimatic-Arduino.
Screenshot Wide:

Screenshot Small:

ToDo:
- As of now the Configuration Page is Work in Progress and you have to edit some varibles in the .ino file while I’m currently cleaning up the code.
- SoftAP Mode when no credentials are given and EEPROM usage as DB --> final firmware without need to edit any .ino-file, just burn it (like the lua firmware) and configure everything else via WebUI
HowTo:
- Install the Arduino IDE and head over to https://github.com/esp8266/Arduino to get help with the Setup.
- Prepare your Hardware http://www.arduinesp.com/wifiwebserver (this is far more complicated …)
Don’t hesitate to post or pm me if you have suggestions or problems.
[Original Post]:
Hi,
I just wanted to share a simple lua script to send DHT22 temperature and humidity data to a pimatic server instance via HTTP PATCH over WiFi.
If anyone finds some bugs or has some improvements, feel free to leave me a note. At the moment it is limited to one esp8266 but I will update the code if I get my hands on more of them.
additional info:
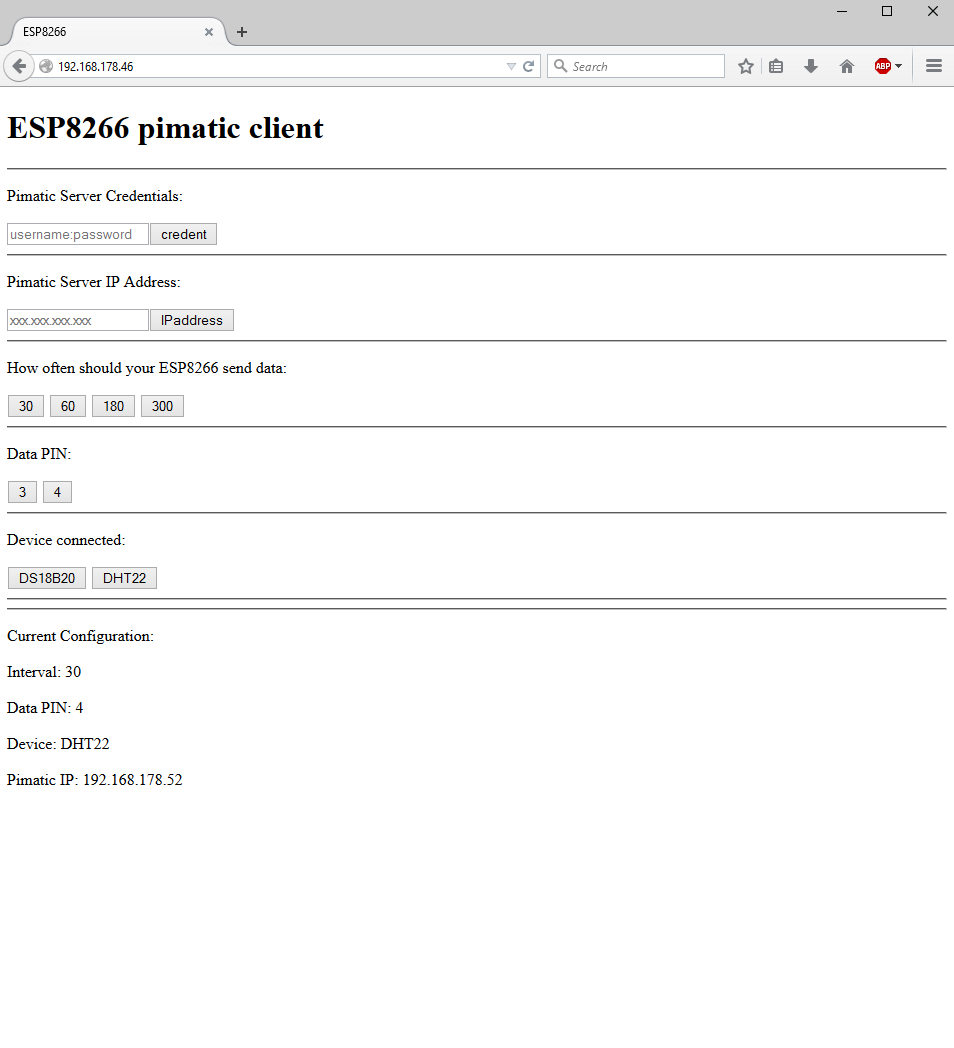
WebUI:

Hardware:
ESP8266:
The esp8266-01 (costs about 3€) is working without any additional controller. So you dont need to attach an arduino. It has built in WiFi and has two GPIO Pins to use.
Power Source:
The power consumption is about 215 mAh when it sends data over WiFi. This is just for sending packages so in between it should only use like 10 uAh or something like that (source). Therefore it is possible to run the esp8266 with two AA batteries á 1,5V (could be dangerous because of the irregular drain curve; better use rechargeable ones á 1,2V and three of them) or like me with a mobile USB battery pack . Here you need an additional Step-Down Voltage Regulator (e.g. AMS1117-3.3) to get from 5V to 3,3V. (!) It’s important to note that the esp8266 only accepts 1,7V - 3,6V and is easily destroyed by providing a voltage too high.
So battery life drastically depends on how often you want to send the data to pimatic. I only have a mobile battery pack (10400 mAh) which is way overpowered. Don’t quote me for this but I think three AAA rechargeable batteries or less would easily last over a year.
DHT22:
Standard DHT22 Sensor you can get for ~4€. Don’t forget to add an resistor (4.7K) between VCC and DATA (schematic).
UART-Adapter:
USB Adapter to set up the esp8266 (flashing, serial console, …)
Software:
Firmware:
I’m using the nodemcu firmware for the esp8266 as it is really simple to write code in lua.
HowTo for flashing:
There are really great tutorials out there and therefore I will just link to them.
Flashing the firmware
Nodemcu Github (API documentary etc)
IDE:
ESPlorer. Easy to use IDE for ESP8266 and built in Terminal (JAVA based).
Just as a side note. If your are using the UART adapter as a power source it could randomly crash as it does not provide enough mAh in wifi mode. It really is only good enough to flash the device. In testing phase it is really great to have an breadboard with a power supply (e.g. YwRobot; but it is not needed).
Changelog:
- 07.05.2015
– Added WebUI to configure ESP8266 from within the browser (screenshot above)
– no reflashes needed to change pimatic Server IP or Device PIN, …
– added base64 code, just enter “username password” as credentials; no encoding required; the esp8266 will encode the credentials for you
– avaible options: Credentials, Pimatic Server IP, Data Send Interval, Data PIN, Device connected (DHT22 or DS18B20)
– shows current configurations
– way bigger code. Therefore you must compile all files except init.lua (either with node.compile("<file>.lua") or with ESplorer)
Bugs:
- Changing the Interval will reset the esp8266. You have to reenter your Configurations.
- DS18B20 is untested, but should work out of the box

